Hello everybody.
After you launch Beta Grove into deep space, Rebecca Lansing will give you a call. She suspects that Shodan is preparing to download itself to Earth’s CommNet. She wants you to blow up the four Antennae Relays on the Engineering Level with plastique explosives. She goes on to tell you that one per antenna should do when she is cut off by Shodan. It’s telling you not to bother with the antennae because that won’t stop it and it’s hopeless. With that motivational speech out of the way, it’s time to prepare for the search and destroy mission that lies ahead. So, if you don’t have the explosives, they can be found in the Surveillance Office in Storage 1. There’s a shelf on the right with several explosive packs, more than enough to do the job.
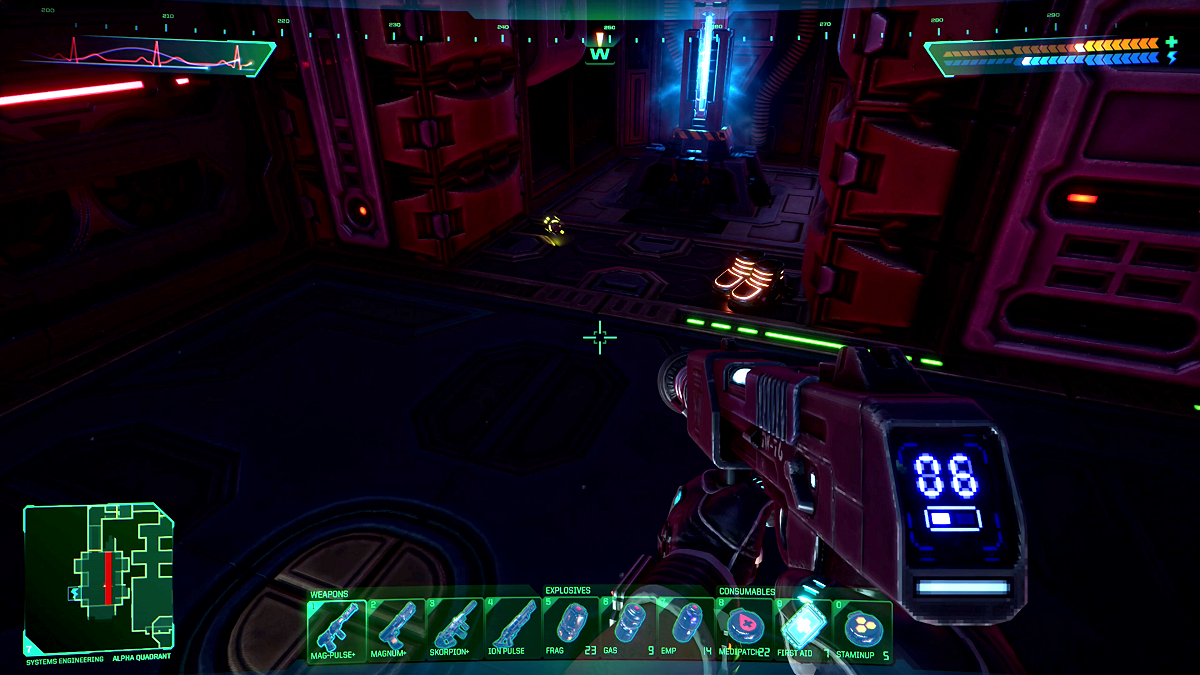
The elevator that services the Systems Engineering Level is located outside of Diego’s office in the Delta Quadrant. The most direct route is to use the transporter that’s near the secondary elevator in the Delta Quadrant. This will transport you into Diego’s office; the elevator is in the next room to your right. When the elevator arrives and you step out onto the Engineering Level, the first thing you’ll see is a short wall on your right where you can take cover. There’s a camera on the upper left and a storage crate below that on the floor. To your right is a force bridge. When you arrive, the bridge will be off, so if you notice that it’s powered on, look for the Cyborg Assassin that patrols that area. These enemies pose a double danger; besides shooting you, they also throw proximity mines. There’s also a Security 1 Bot in the gangway to your right. Don’t venture out yet; there are three health patches in the storage crate and an audio log on the counter. The audio log is from Arnold Hessman and it’s addressed to Mr. Wu. It’s a welcome to the station message and it’s important because in it, you’ll learn that the antennae relays are located at the cardinal points on the level. The poor lighting on this level adds a degree of difficulty to exploring. The smaller enemies blend into the shadows, and sometimes you won’t know they are there until you’re right on top of them.
With the Security 1 Bot down, it’ll be safe to advance down the gangway on the right or head west. The first opening that you come to on your right is where the Recycle Station is located; there’s a Cyborg Enforcer patrolling that area, so don’t go there yet. Instead, keep going until you’re almost at the end, where the gangway goes left. To the right of that is a white light on the wall; above that is a gap in the railing that you can jump through. From this position, you have a better chance of taking out the Cyborg Enforcer without sustaining too much damage or even dying. The Cyborg Enforcer patrols from one end to the other of the lower gangway, so when it comes to your end, stay behind cover until it turns around to go the other way. If you have full power, then the Ion Rifle is the best ranged weapon to use; on the overcharge setting, it will take it down with two full charge shots. The other choice is to use the Pulse Rifle, although it will take a couple more shots. If you want to get up close and personal, the Rapier will take it out with one power and one normal swing. With the Enforcer down, you can explore the lower gangway. Along the west wall are two entrances: one for Delta Antennae, which is cyber-locked, and one beside it that leads to a room patrolled by a Security 1 Bot. There’s a force bridge in the middle of the room; under the bridge to the left is a Power Station, a Logic Probe, and the V3 Turbo Motion Boots. In the video, I went around the opposite way, finishing in this room. Back outside on the lower gangway, go to the end. There, you’ll see a door to your left and a gap in the wall to your right that you can jump through. Jump through the gap onto the gangway above. To the right leads to the force bridge that you see from the elevator; along the way is a counter with various junk and an empty storage crate. The empty crate can be used to free up inventory space if you have excess supplies. And with the Recycle Station so close, you can store a couple of weapons in the crate temporarily and make a few trips back and forth to the Recycle Station to increase your credits. To the left, the gangway goes around the corner that leads to a broken access to the Core. There’s also a Cyborg Mantis patrolling back and forth. The Cyborg Mantis isn’t particularly difficult to take out; a couple of shots from the Magnum 2100 will do it. To the right is a counter with an audio log; this one’s from Bianca Schuler. In it, she has a plan to get through security to the Bridge, then into the Computer room to install the Isolinear Chipset. So this is something to keep in mind when you reach the Bridge. When I returned to the lower gangway, I backtracked and entered the first round door on the right, which leads to a room with a hole in the floor on the right. Conversations of Exec-Bots can be heard in the room below; rather than jumping down, lure them into the opening and take them out. Once you jump down into the room below, you’ll see a camera to your left; there’s a counter below that with an audio log. This one’s from Shodan; in it, it talks about the layout of the Security Level. First, the elevator that services the Bridge is to be removed. Second, the balconies and force bridges shall all be removed except one in the Central Shaft that will be monitored. This is the reason that the V3 Turbo Motion Boots are available on this level. From the counter, the gangway leads in a northerly direction with cutouts on both sides before going around the corner to the right. At the end of the gangway, there’s another counter; this one has two health patches, one stamina patch, and one sight vision enhancement patch. Just before the end of the gangway, there’s a vent access point. This vent section is short and comes out in a rectangular room; part of the ceiling is open, but there’s a force field preventing anything from falling down into the area. If you stop and watch through the force field, you’ll see that there is a Security 2 Bot patrolling the room above. At the west end, just beyond the force field ceiling, is another vent access point in the second last cutout on the left. This vent leads to a small open area that you can stand up in. You can see on your left the red light and an open vent; climb onto the boxes that are there and into the vent. This vent exits into the room with the V3 Turbo Motion Boots. Like I mentioned earlier, there’s a Security 1 Bot patrolling this room. When you come out of the vent, you’ll be below the force bridge, and depending on where the Security Bot is, there’s a good chance it won’t see you. This was the case when I went through, and using the Pulse Rifle, I sustained a tiny bit of damage. The V3 Boots, a Logic Probe, and a Power Station are at the south end of the room on your right. This room exits back into main part of the level right beside the Delta Antennae entrance. That’s as far as I explored this time around.
That’s as far as I explored this time around, coming up next I explore some of the area on the other side of the main gangway.
Thanks for reading I appreciate your time and interest and may God bless you today.