Hello everybody and welcome.
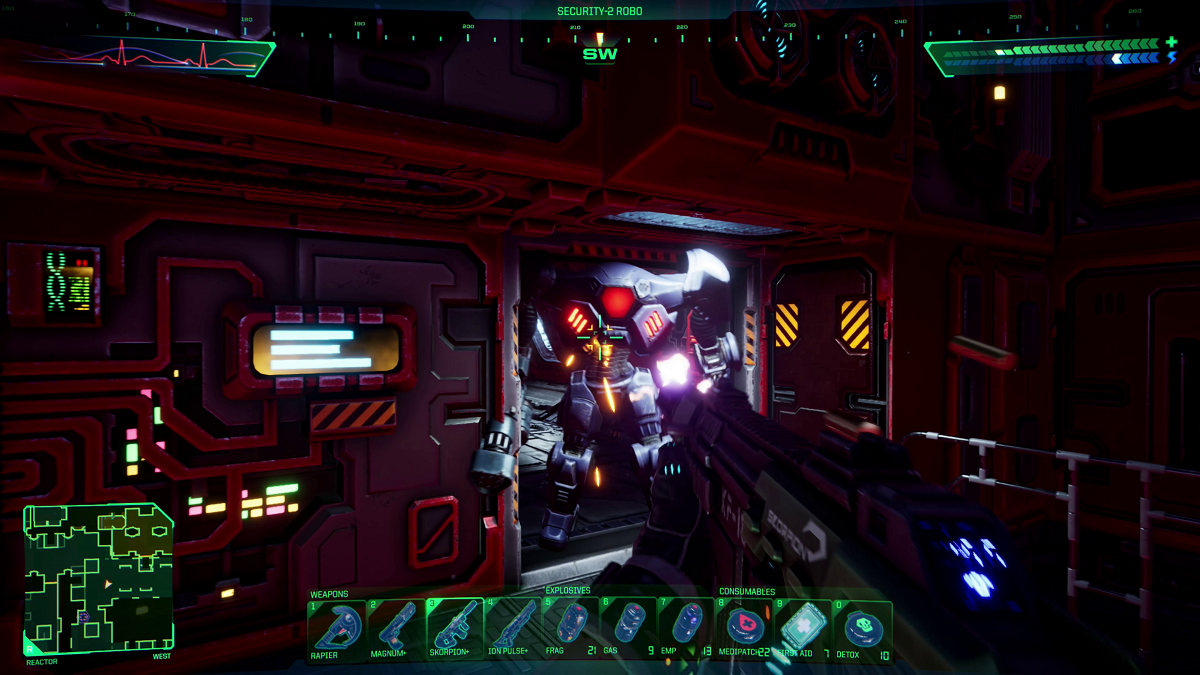
In this video, I make my way up to the Flight Deck, stopping at a few points of interest along the way. A word about the Reactor Level: as you’re navigating through this level, you will encounter multiple enemies, ranging from Hoppers that pop up unexpectedly through the floor to the more formidable Security 2 Bots that patrol the area.
Reactor Level
The first point of interest is on the Reactor Level. Starting from the Medical Bay, you should exit through the door along the north wall. Once outside, turn right and then take a left down the corridor heading north. As you progress, be cautious when you reach the fork; go left first and then right to continue your journey. Make sure to stay alert as you move north past the Power Station; keep going around the corner to your left. You will see a blast door ahead—push through it and you’ll arrive at a room on your left that contains four cameras. The secret wall will be just after that on the left side. This area boasts a full health Med-kit and some MK III ammo, which will undoubtedly be helpful in your quest.
Research Level
The point of interest on this level is a hidden Power Station, which can be quite elusive. Once you exit the elevator, make a left and then a quick right into the Central Hub. Follow the path by turning left and then right again, and proceed up the ramp by the force bridge until you reach the top. Go through the door at the top of the ramp, then jump down and head around to your left. You should spot a light on the wall that resembles the number 2; right across from that light is an opening begging for your attention. This marks the location of the Power Station, but there’s a catch! You won’t be able to jump up there without the Turbo Motion Boots, which are located two levels up on the Storage Level. It’s puzzling as to why the developers included it in such a tricky spot, but that’s part of the challenge.
Storage Level
Now onto the Storage Level, where your point of interest is none other than a Skully. From the elevator, your first move should be to go straight ahead and head down the ramp to your right. As you reach the bottom of the ramp, you’ll notice some crates across from the Recycle Station; peering above the crates, you’ll see some unsettling blood and gore smeared on the wall. If you look closely, right above that blood, there’s a vent door that conceals the Skully. The trick to accessing this area requires a bit of finesse: jump up onto the crates, crouch down, and while you’re crouched, boost up to the door. Timing is crucial here; if you get it just right, you’ll find yourself inside in a single move.
The Flight Deck
Finally, when you arrive on the Flight Deck, prepare for a pivotal moment. You’ll receive a call from Edward Diego, who warmly invites you to “come meet the new horizon.” This signal means it’s time for the final leg of your journey. With that in mind, focus on making your way to Flight Bay 2, where you’ll prepare to face off in battle once again.
Thanks for reading! Your support means a lot, and I truly appreciate each and every one of you for taking the time to follow this guide. May your adventures be thrilling and filled with victories. God bless, and I look forward to connecting with you in the next post!