Hello everybody, welcome
There are a few ways to get to the CPU room. One way is to use the Repulsor lift from the bottom floor, but that requires a security level of less than 50%. Another way is to boost up the maintenance shaft next to the Recycle Station, which leads to the entrance to the cafeteria. Lastly, the way I went up there was to use the lift in Monitoring, which brings you to the entrance to the cafeteria.
The Cafeteria
There is one Cyborg Warrior stationed in the cafeteria. The Rapier is an excellent weapon to use on these enemies, especially if you manage to sneak up on it and hit it with a power attack first, then finish with a couple more normal swings. There is loot and health products spread all over the cafe, as well as vending machines. There’s also one skull for those of you who are collectors and a MK III Rifle. There’s an office along the north wall on the west side of the cafe. In the office, you’ll find a briefcase on the floor with a security access key card and an audio log. The audio log is from Jaco Van Dyk; it’s to his daughter Katelyn, in it he’s telling her that she was right that he should never have accepted this assignment. He ends his message by encouraging his daughter to not lose hope in her own research. There are some high-value items in the room, as well as a large standard round box of 50 rounds and Railgun ammo on the desk. There’s a door along the east wall that leads out of the cafe into the area before the CPU Room. There are two enemies stationed in this area: a Security 3 Robot, which is a lot tougher than a Cyborg Warrior, and a Cyborg Elite Assassin. The Security 3 Robot is best dealt with from a distance. With the Rapier, even with a power attack, it took several more hits before it went down, and in the process, you’ll take a lot of damage if you survive at all. At the top of the stairs and to your right, there are three rooms, but the only room you can enter is the CPU Room; the other two rooms require a security level of less than 25%.
The CPU Room
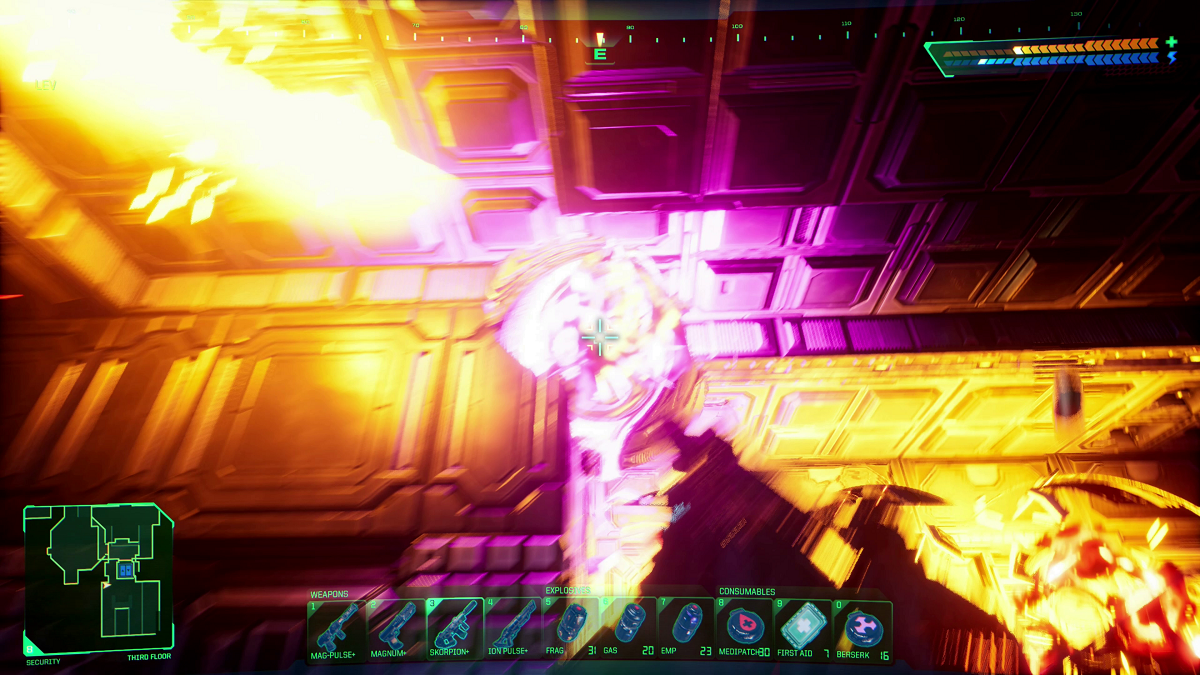
There are four CPU Nodes behind a force field along the east wall. In the center of the room is a gangway that leads to a switch on the wall. The switch turns the force field off but also activates two Sentry Turrets in the ceiling, one on each side of the CPU Node window. To help destroy the turrets, I placed a Proximity Mine below each of the turrets. The turrets can’t reach you when you’re at the entrance end of the room, so pull the switch and run to the entrance end and hide along the east wall. Move ahead just enough so that the turret drops down and starts to fire, and then shoot the proximity mine, which should destroy the turret. When I shot the second turret, the explosion destroyed all of the Nodes at the same time. After the Nodes are destroyed, the security level will be below 25%, so you can enter the other two rooms. Across from the CPU Room is an armory of sorts with a Mod-Kit Station, an ammo vending machine, as well as two storage crates with various ammo. The Mod-Kit is for the MK-84 Accelerator Railgun, and this mod reduces the charge time. That’s where I stopped and saved. Coming up next is the Cyberspace.
Thanks for reading! Your support means a lot, and I truly appreciate each and every one of you for taking the time to follow this guide. May your adventures be thrilling and filled with victories. God bless, and I look forward to connecting with you in the next post!