South Vale East
Hello everybody, welcome!
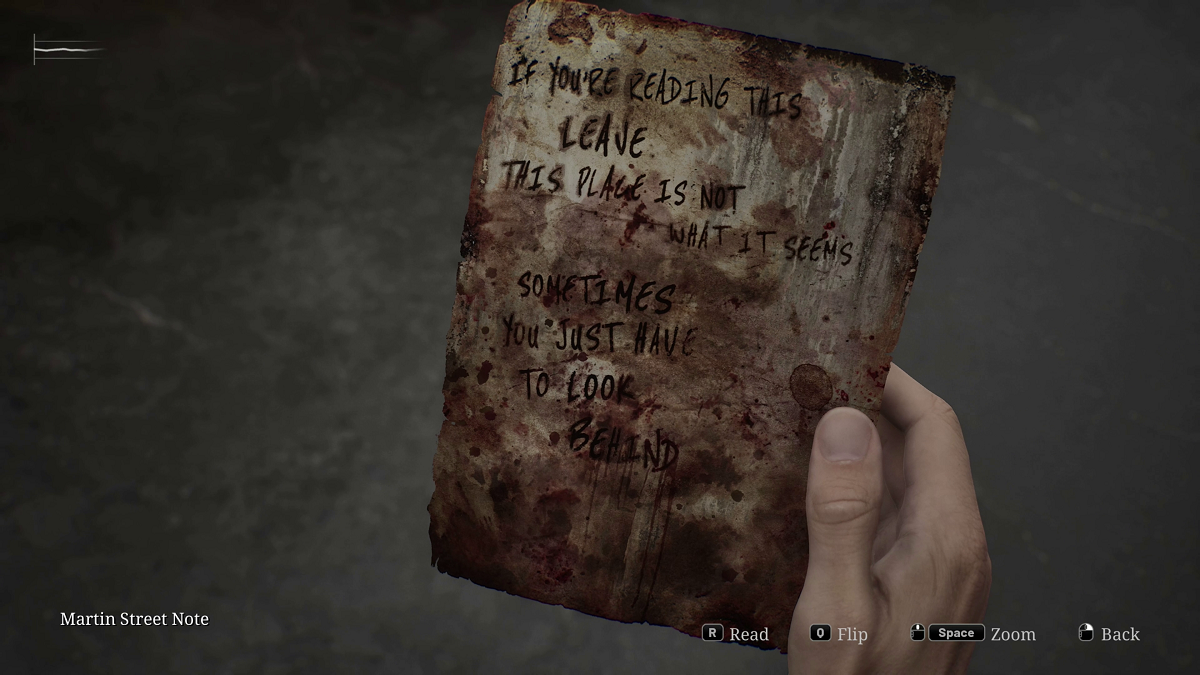
Last time I made it into a house on Martin Street where there’s a manual save, so this is where the exploration continues. The next room is the kitchen; there’s a drawer and cabinet that you can open, but there’s nothing in the cabinet and a health drink in the drawer. The other door exits into a hallway. There’s only one door you can open, and it’s down the hall to the left. As you approach the end of the hall, you’ll start to hear the static of a radio. The static is coming from the room on the right, and when you enter and go over to the chair, a short cut scene will play as James picks up the radio. The cut scene switches to the next room when James notices an armless thing and ends when it breaks through and James rips a piece of wood from the window. This is the first fight of the game, and you’ll see an onscreen message on how to attack and dodge; however, in this confined space, I didn’t bother dodging and just attacked until it was down. Moving on into the next room, you’ll see a crack in the wall on the left that you can squeeze through into the next room. There’s a much-needed syringe on the desk on the right and a window beyond that. When you approach the window, you’ll get an onscreen notice to press E to break the window, and when you do that, James uses the plank to break it. When you break the window, a short cut scene starts as James jumps through to the outside. Once outside, he’ll start to hear a garbled message on the radio with the partial “Ja…… I’m …..e. Come to …… s…. ….ting f…. ……id you k….. Jam…..” The cut scene ends with James looking puzzled as he puts the radio back into his pocket. There’s an open gate to your left that leads to the north end of Martin Street. On the street to your right is something to investigate, but I didn’t get it in this video; it’s in the next. All it is when you interact with it is you get a third-person view of James, so I don’t know if there’s something to see or if he’s scared stiff. As you walk up the road, you’ll notice a trail of blood on the right side that leads to a corpse on the road. Beside the corpse is a matchbook from Neely’s Bar, and a little further up is a note that reads, “If you’re reading this, leave; this place is not what it seems. Sometimes you just have to look behind.” Just up the street on the right, you can see the red glow of a manual save, and as you approach it, an armless thing scurries away up the street, so this is a good place to save your game and prepare for the horrors that lie ahead.
Note
When you pick up a new item you’ll get a notice to check your map for new information, I didn’t do that when I found the match book from Neely’s Bar and as a result I went to the Saul Street Apartments which is out of order. Checking the map would’ve shown me that Neely’s Bar was circled and with the absence of a mini map the big map is even more important.
Thanks for reading! Your support means a lot, and I truly appreciate each and every one of you for taking the time to follow this guide. May your adventures be thrilling and filled with victories. God bless, and I look forward to connecting with you in the next post!