Hello everybody, welcome!
The west wing will be accessible once you return from the east wing, but don’t go running in there because there’s a Lying Figure in the hallway that has to be carefully taken out. When that’s done, you can enter room 102; you’ll find two items: in the bedroom on the dresser, a health drink, and in the living room on a rolling tray, a picture of Valentine flowers whose shadow looks like a dark monster. At the end of the hall is room 101, but it’s locked, so that’s as much of the first floor that can be explored at this time.
The Second Floor
Open the double doors to the east wing of the second floor with the key you found when you were in the east wing of the first floor. The first room that you can enter is the laundry room, which is all the way at the end of the hall after you round the corner. At the far end is an opening to the chute with a white circle on it indicating you can take a closer look. When James pokes his head in the chute and looks down, he can see a gold coin on top of the scrap; you’ll have to retrieve it somehow to solve the coin puzzle.
As you enter the hallway again and continue along, you’ll see a faint red glow at the end. The hallway is blocked by vertical bars, and on the other side is the first appearance of Pyramid Head. You can’t hit him, and he can’t hit you. Go back up the hallway and enter room 213. This room is exceptionally dark, and your flashlight doesn’t make much of a difference. In the bedroom, there’s a white dot on the wall, and when James interacts with it, you get a full view of the wall, but what it’s supposed to mean is unclear—broken wainscoting panels and a crack in the wallpaper, so maybe it’s telling you that walls can be broken. In the living room, there’s a crack in the wall that you can squeeze through. On the other side, there’s a door to your left and a door to your right that are both locked. There’s a note posted beside the door on your right asking tenants to stay off the third floor, so this is the door to one of the staircases.
The hallway extends past the staircase door, and the sign on the wall indicates that rooms 214-217 are down the hall, with room 217 being the only room that you can enter. Inside, you find the walls are shot full of holes, letting some light shine through. There’s some ammo in the closet to the left of the entrance, on the TV stand, and in one of the kitchen drawers. The pistol is in a shopping cart in the living room. When you pick it up, a short cutscene will play as James holds the pistol, and instructions appear on the screen, and the auto-save square flashes, so you could stop here and know that this is where you’ll start again next time.
When you enter the hallway again, you’ll notice that the room with the crack in the wall that you came through now has light inside. When you squeeze back through, you’ll see that the TV is the source of light; you’ll also see someone sitting in the chair in front of the TV. There’s a key on the end table on the right; it’s for room 212, and on the character slumped in the chair, there’s a white dot. When James interacts with it, a cutscene will play showing James about to touch him, but he changes his mind and backs away. The cutscene ends with a close-up of the character with his head covered with a bloody cloth.
Room 212 is across the hall to the left. Using the key that you just found will open the door. The apartment is empty except for a health drink under the sink in the kitchen. An open door leads to a balcony that’s shared with apartment 210. The balcony enters apartment 210 into a bedroom. Look carefully, and you’ll see a Manikin standing at the doorway to the bedroom. A few shots with the pistol will bring it down. There’s a box of ammo in the fridge in the kitchen and a photo on the windowsill in the living room. This apartment exits back into the hallway on the other side of the bars.
Go right and around the corner; be prepared to take out a couple of Lying Figures. About halfway down the hall, there’s an exit on the right onto the fire escape. Looking into the apartment on the left from the fire escape, you’ll see a Manikin crouched down in the kitchen, and although it didn’t occur to me at the time, you can take it out from the fire escape with your pistol. On the wall to the right of the entrance, there’s a switch that when pulled lowers the fire escape down into the courtyard, providing an opportunity to run back to the main office to use the manual save.
The apartment that you can see from the fire escape is apartment 207. There’s one Lying Figure and one Manikin to deal with, and for your troubles, you’ll get two packs of ammo: one in the kitchen and the other in the bookshelf in the living room. There’s also an achievement if you shoot the balloons on the living room wall. I didn’t want to waste the ammo, so I didn’t bother.
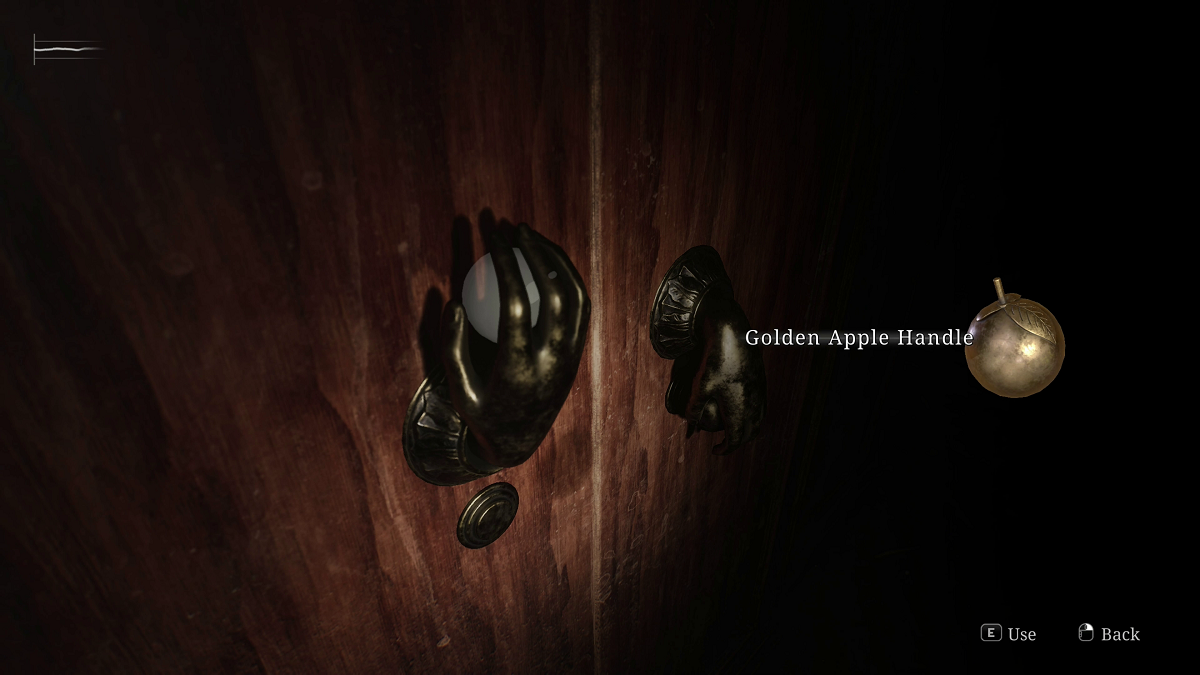
Back in the hallway, go right and around the corner; the door to apartment 208 will be open on your left. This apartment is not as dark, with some light coming in from the partially covered window. There’s one pack of ammo in one of the upper cabinets in the kitchen, and in the living room, a curious note on an end table. The note reads: “You must think I’m cruel, but this prison is of your own making. The choice was yours; I watched you make it over and over and over again. This time’s not going to be any different, and I’ll be here watching.” Against the wall is a wardrobe with a white circle indicating that there’s something more here. It turns out that the Golden Apple Handle that you found in apartment 108 opens it. Inside, there’s a camera looking into the next room where you can see a box sitting on a table in a dimly lit room with writing all over the walls. Go around to the left side of the wardrobe, and you’ll notice a white circle; this time you need to push the wardrobe to the right, revealing a narrow space in the wall that you can squeeze through.
As you enter the room, you can hear someone calling your name. To the right of the narrow space is a white circle on the wall calling for your attention; there’s a riddle written on the wall with the words right (rooftops), left (footprints), and right (river) included. So look around the walls, and you’ll discover three drawings, each with a number and drawing of one of the three words I’ve written in brackets. It all boils down to the combination that opens the safe, which is 13 right, 7 left, and 11 right. Inside is one of the shiny coins, which in this case is the man coin, and a key to get out of the room.
Back in the hallway, go left and into apartment 206. Be prepared; there are three small crawlers in the living room. There’s also a chair in the middle with a key to the 2F Small Staircase on the seat. There’s a health drink in the little alcove to the left of the living room and some ammo on the chopping board in the kitchen.
Back in the hallway, go right. Up ahead is a small green door that leads to another hallway; now go right again. There’s one Lying Figure between you and the 2F Small Staircase, so take it out and continue to the end of the hall. The door will be open, so go straight through, and the staircase door will be ahead. Use the key, and the lock will open and then disappear. On the other side is the staircase and a manual save point, so it’s the perfect time to stop, save, and regroup.
Thanks for reading! Your support means a lot, and I truly appreciate each and every one of you for taking the time to follow this guide. May your adventures be thrilling and filled with victories. God bless, and I look forward to connecting with you in the next post!