Hello everybody, these are the last two antennas, one is located in the Alpha Quadrant and the other one is located in the Delta Quadrant. I went after the North antenna first, which is located in the Alpha Quadrant. The lower Core entrance to the Alpha Quadrant leads to a back corridor; the corridor ends to the left and goes around the corner to the right. Something to keep in mind is that enemies will pop up through the floor from time to time as you are making your way around these corridors. Having said that, continue around the corner checking for enemies first. If one pops up, like it did in the video, just retreat back around the corner and prepare to neutralize whatever it was that popped up. The corridor heads in a northerly direction and goes up at the end, and like most areas on the engineering level, it’s very dimly lit. About halfway, there’s a door on the left and right. The door on the right is an entrance from the Beta Quadrant; the door on the left goes into the center of the Alpha Quadrant. The corridor continues up a ramp where you can either go left to the antenna or keep going straight. It’s better to go straight and explore that area first before heading to the antenna, so up the ramp and around the corner to the right. The corridor goes down a few steps; there’s a camera on the left and a ladder going up straight ahead. At the bottom of the steps, look left and wait; there’s an Auto-Bomb down the corridor that soon becomes visible; when it does, destroy it. The ladder leads to a maintenance area; at the top of the ladder, the gangway goes left and ends in a lower area with shelves on the left. By the time you get to the top of the steps, you should hear an enemy; it’s an Exec-Bot hiding in the corner on the left. Take care of it with your choice of weapon. There’s a Magnum 2100 with some ammo on the shelves along the north wall; there’s also an audio log. This one is from Shodan; in it, she talks about complaining because the Hacker continues to progress through the station, urging the Cyborgs to learn from their mistakes. Back down at the bottom of the ladder, at the start of the corridor around the corner, there are two vent doors that can be entered, one on each side. The one on the left, or north, leads to a dead end where there are three frag grenades. The one across on the right, or south, loops around back into the corridor, but along the way, there is a high-capacity battery back and an engineering access key card. Exit the ventilation duct and turn left; the dimly lit corridor with a vaulted ceiling continues in an easterly direction. It then takes a turn to the right and continues to a dead end. There’s a switch on the east wall that, when pressed, opens the wall opposite; this is the back entrance to the armory. Now backtrack to the entrance to the area and cautiously go around the corner; look for enemies down the lower corridor ahead and around the corner to the right. When the corridor to the right is clear, continue heading west; about halfway to the end, there’s a door to your right and a room to your left. Past that, there’s a lower corridor on your left, and then finally at the end on your left is a universal detox patch and an audio log. The audio log is from Arnold Hessman; listening to it, you learn you’ll need a system authorization code to blow up the reactor core and another code for the life pods. The corridor on the left before the end is patrolled by a Cyborg Warrior, but it can be taken out without sustaining too much damage if you’re careful. About halfway down the corridor, there are doors to the left and right; it turns left and ends, but there is a Cyborg Enforcer stationed there. There are counters on the left and right with one reflex reaction aid, one universal detox antidote, some shotgun ammo, and 50 Teflon-coated rounds. There are two doors along the west wall; the first one, leaving the area, leads to a maintenance tunnel with an electric arc. At the other end of this tunnel, there’s an electrical panel that, when rewired, turns the electric arc off; this electrical panel is located near the recycle station. The second door requires an access key card to open, and it leads to an experimental transporter. In front of the transporter, there’s a full health med-kit and an MK-III rifle. The transporter brings you to the area of the armory and the entrance to the Beta Antenna. I don’t recommend using the transporter because you’ll be transported into the middle of the room surrounded by maintenance bots and most likely take heavy damage. Across the corridor, there’s a ramp that goes down to a door that leads into the middle of the area, with stairs going up and around to the other side where it exits into the corridor that we came in on. I didn’t find anything in the area except the loot that I got from the Warrior Bots and Enforcer Bots.
The North Antenna
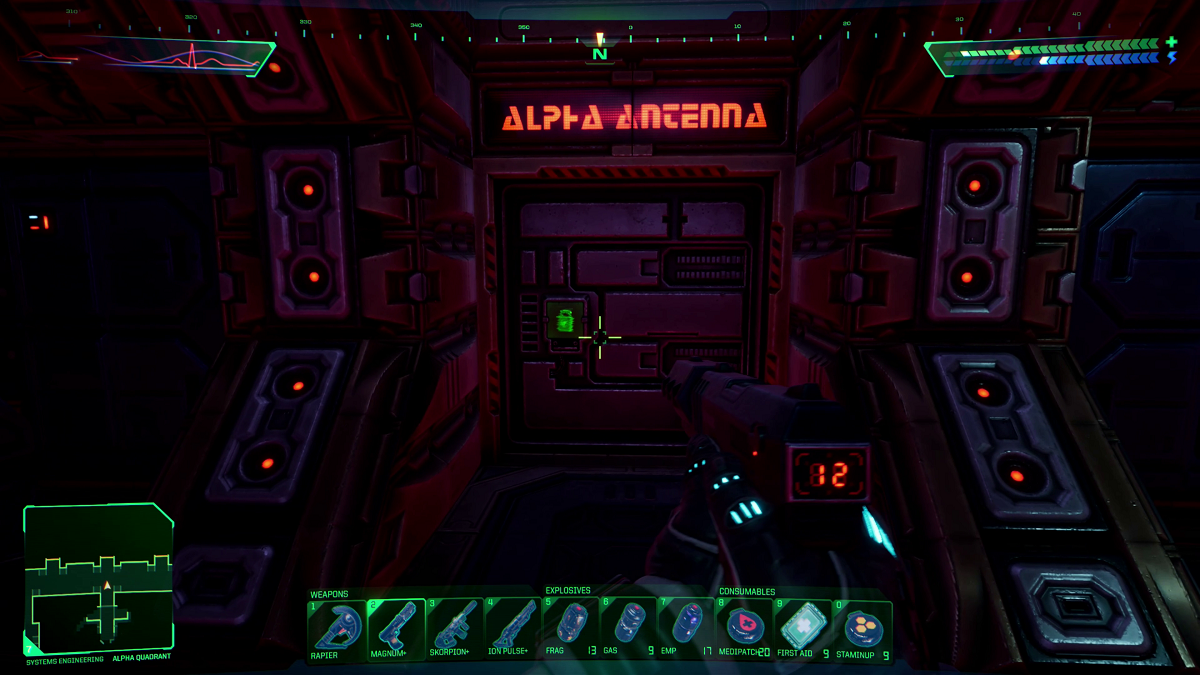
There are three doors along the north wall in the corridor that runs east-west on the north side of the quadrant. The middle door is open, with a gangway all the way to the antenna room; the other two doors have short landings but are not connected to the antenna room. Also, there is a Cyborg Enforcer on one landing and a Cyborg Elite Drone on the other one, so when you enter, run into the antenna room and then turn around and take them out. There’s one camera in the antenna room, but I suppose the explosion will take it out, so plant the Plastique and go out to a safe distance.
The West Antenna
The entrance to the west antenna is west of the recycle station, so there are a few routes you could take to get there. I followed the corridor west after I left the north antenna room, which eventually comes out right beside the west antenna entrance. But if you go that way, be prepared to take on a few bots on the way. There are three Security 1 Bots guarding the west antenna, two on the way and one in the antenna room. There is also one camera in the room, but like the other antenna, I assume the camera will be destroyed when the antenna is blown up.
After the last antenna is destroyed, you’ll get a call from Shodan telling you that the antennas mean nothing and that its consciousness is safely on the bridge; the call ends with a threat. After that, you’ll get a call from Rebecca Lansing informing you that TriOp, the company that owns the station, has made the decision to destroy the station and you’ll have to carry it out. She also tells you what is needed to activate the self-destruct and gives you the life pod code 001. So before security can be entered, the reactor self-destruct must be initiated. I didn’t know that at the time, so I continued up to security only to find the door locked; there was an audio log, though, from none other than Abe Ghiran, but he wasn’t talking about how to enter security. He was saying that there is no longer an elevator servicing the bridge and the only way to get there now is via a force bridge that connects to the central shaft and use the maintenance ladder inside. That’s where my progress stopped.
I hope you found this post helpful; thank you for your time and interest; may God bless you today.