Hello everybody.
At the end of the last video on the Flight Deck, I discovered that I couldn’t use the elevator. The power was diverted to level R. So in this video, I go back to the Reactor Level and do the Laser Mission.
The first stop on the way down was the Research Level Library Cyberspace Terminal. I needed to make sure I had the correct number for the override control. This number likely won’t be the same number you see.
When you arrive on the Reactor Level go left. Take out the Hopper that’s stationed on the corner. To the left is a small storage filled with contaminated barrels. Shoot the barrels and wait for the contamination to disappear. Inside is a corpse with some Teflon-coated rounds for your pistol. Back in the corridor, there’s a junction box to rewire to open the next door. On the other side of the door, the corridor goes off to the right and left. There are hoppers in both directions. If you need to top up your health then go right. Through the next door is the back door to the medical bay. To the left, the corridor goes a short distance and then turns right. On your left is the before it turns is the Radiation Shield Controls. Be ready to shoot the Autobomb when you open the door. At the back of the room on the left is the Radiation Control console. The Isotope X-22 receptacle is on the left of the console, click it and the Isotope will be automatically inserted. The door for the switch next to it will open. Flip the switch to turn on the shield. A video feed of the station to the right will confirm the shield is at 100%.
Entering The Safety Override Code.
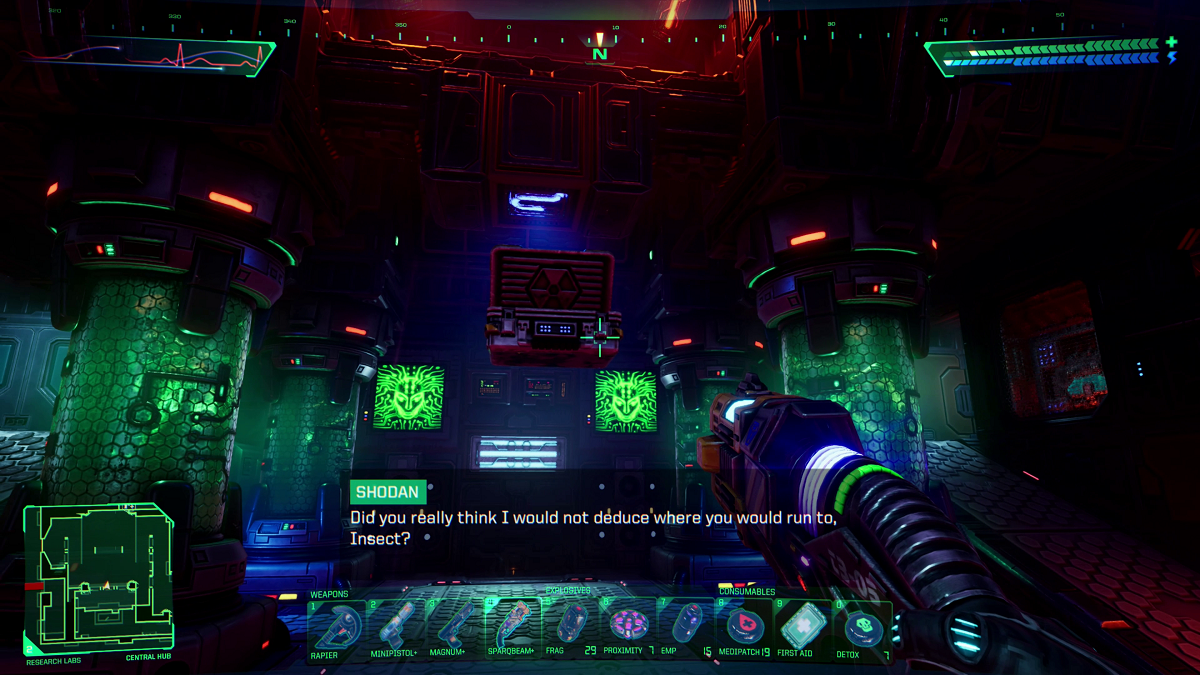
There is an alternate route that you can take to get to the safety override room. When you open the door after rewiring the junction box, you can see just to your left a duct door. This duct leads you around and into the area very close to the repulsor lift to the override keypad. The door opens up to a corpse on the floor and audio log on the ledge above it. The audio log is from Lonni Stevens. She says the engineering team have started plan B. Plan B is to cause the Reactor Core to self-destruct. The self-destruct signal will come from Earth, and the countdown will start. You’ll have to return to the Flight Deck and use the escape pods to get off the station. I just hope it isn’t a timer mission. To the right is a ladder leading down to another door. Before you open the door, take a Detox patch and turn on your Environmental Protection Pack. Equip a ranged weapon and enter the duct. Around the first corner to the right are several contaminated barrels. Shoot them and continue through the duct until you reach the other door. If you have a Magnum 2100, equip it and open the door. Walk onto the repulsor and ride it up. Turn left. Head for the repulsor lift at the end next to the Safety Override sign. More than likely there will be a Sentry Bot so you’ll need something other than your standard pistol. The repulsor lift takes you to the keypad and switch. Enter the code from the screen in the Library Cyberspace Terminal on the Research Level. The switch door will open, flip the switch to disable the safety interlocks.
The Route That I took
Upon exiting Radiation Shield Controls, turn left. There will be 2 rooms off the west and 1 off the east walls. The first room off the west wall has a security camera on the ceiling, some junk on the shelves, and an audio log. The audio log is from Abe Ghiran. He’s just talking about Zero-Grav research. This is a room on the other side of the level. The next room off the west wall is filled with contaminated barrels. I searched the room thoroughly and came up with nothing. The same can be said for the room off the east wall. Moving along go down the stairs across from the room off the east wall. Follow the walkway until you can jump up onto the level. There should be some Teflon-coated bullets on the floor in the area. Continue along the corridor, first taking a right and then a left. About halfway down this corridor on your right is a door that leads eventually to the Safety Override room. Before heading into the room make sure your power is topped up. When I got there, my power was pretty much empty so I had to go to the power station first. Back at the door, go inside and shoot the two cameras above the door. Then shot the other two cameras but don’t go too far into the room. When you shoot the last camera the three locked doors will open, and two Mobile Lasers will come out. I retreated down the corridor to take a Berserk patch and equip my Rapier. I took out the two Lasers in the first room. I also took out the Security 1 Bot in the room at the back. This room has a Repulsor lift that will bring you down into a room off of the main corridor that leads to the Core. You’ll be somewhat protected here to stage your attack. There will be one Sentry Bot, two Flier Bots, and one Security 1 Bot. When they are taken care of you can continue right to the Repulsor lift to the Safety Override room. The procedure to disable the safety interlocks is the same as above. Now you can return to the Research Level.
Research Level
Make your way to General Control. When you enter stay at the top of the stairs. You’ll notice 4 Specimen containers, there are 4 Virus Mutants inside. When you walk down to go to the other side the 4 Mutants will be released. Now there’s a couple of ways to go about this. For the alternate way, you’ll need Gas Grenades. Don’t do it the way I did, I managed to get out of the room but just barely. Instead, turn on your Enviro-Pack. Enter the room and run over to the other side. Then go up into the Control Room. Go to the back of the room and fire the laser. You’ll know you were successful when the screen shows Shodan and the console reads “laser offline”. Now you can look through the Control room windows to see where the Mutants are. They’ll likely be one the lower floor again. So exit the Control room with Gas Grenade equipped and go to the top of the ramp. If there’s a Mutant there throw the grenade and retreat to behind the Control Room door. You should manage to get most of the Mutants this way. If one of them follows you up the ramp into the Control Room, then you’ll have to shoot them. The Magnum 2100 is a good weapon to use.
That’s it for this one.
Thanks for watching, God Bless and happy gaming.