Hello everybody, welcome!
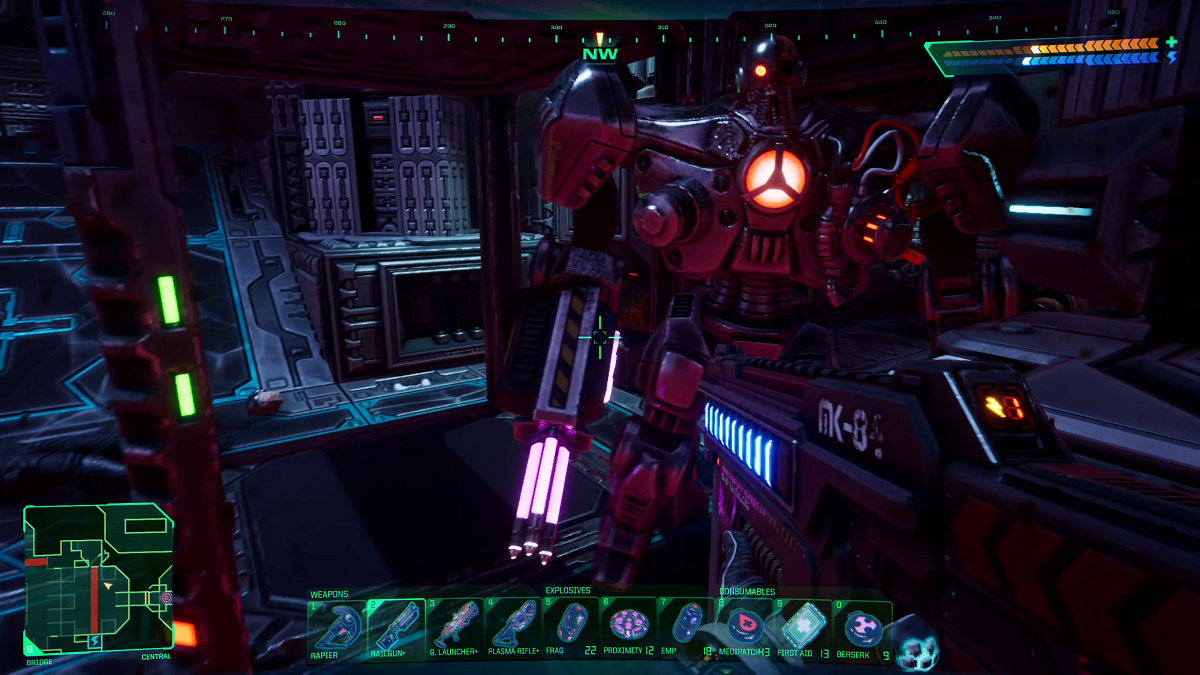
In this post, I install the Isolinear Chip and engage the enemy in Shodan’s Throne Room. The Isolinear Chip is installed in the computer room, which is located on the southwest side of the map; this little room is the most westerly point on the map. There is one Cyborg Elite Drone stationed at the entrance, so take him out with the weapon of your choosing. Inside the computer room, above the entrance, is one camera; in the far left corner, there’s a corpse with three health patches, and in the middle of the room is the column where the Isolinear Chip is inserted. When the chip is inserted, the Citadel PA System will announce, “Program Security Breaker Installed,” unlocking the door to Shodan’s Throne Room.
Shodan’s Throne Room
The objective for this room is to pull three switches that are in three locations around the room. This, in turn, will power the lift to the Experimental Transportation Device. Before you enter the throne room, equip your Railgun; there will be one Cyborg Enforcer at the back of the room, but you can ignore her for now. Enter the room and go to your left and turn around; by the time you turn around, a door will open and a Cyborg Enforcer will come out, so take her out with the Railgun and go into that room. In the room, there is a full health med-kit on the counter on the left and a corpse on the floor; the corpse has a Berserk patch. This room offers some cover even if something pops up right at the entrance so this is where I’m going to return later to stage my attack. You can now turn your attention to the other Cyborg Enforcer that you saw when you first entered; take her out and leave the room. The first thing you want to do is go over to the power station and recharge so you can use the Plasma Rifle and turn on your Energy Projectile Shield. To the right of the power station is a ramp; at the top of the ramp, on the left, is a lift. Ride the lift up and hit the switch on the wall to turn on the force bridge. Go over to the other side, turn left, and go over the other bridge; the first switch is on the desk terminal ahead. Deploy some Proximity Mines—one to the right and one to the left; there’s a little recess in the wall to the left of the switch, so pull the lever and wait in the recess. You’ll have to eliminate every enemy before you can pull the next switch. In the video, after I pulled the first switch, I think I had a delayed reaction because as I was waiting by the second switch and took out the Cyborg Elite Drone below, another one popped up almost right in front of me. Luckily, he jumped down, and I took him out. I still couldn’t pull the switch, but then I heard Proximity a Mine detonate, which powered the switch; but I was too fast and didn’t notice the switch and ended up taking a tour of the room looking for the last enemy, only to find that the switch was ready to be pulled when I got back. The plan is to pull the lever on the second switch, then drop down and go into the small room; however, things don’t always go to plan, as I ended up dropping down at the same time a Cyborg Warrior popped up. Even though I had the Railgun equipped, I somehow missed him at point-blank range, but managed to make it into the room and just in time took a full health med-kit and dealt with the Cyborg Warrior with my melee weapon. There will be several more Cyborgs spawning, so stay in the room and take them out from there as they approach your position. It’s a good idea to deploy some Proximity Mines out front and on the ramp leading to the room, and keep your health topped up. When you think you got all of the Cyborgs, carefully venture out and check the last switch, which is directly under the lift to the Transporter on the level below. When the switch is green, it’s ready to pull. Before you pull the switch, it’s advisable to deploy some Proximity Mines to the right of the switch as you’re looking at it, and additionally on the ramp coming down from the upper level. I took a Reflex Reaction Aid patch before pulling the switch to give myself time to retreat to the little room and get ready for the Cyborgs to attack. I deployed several Proximity Mines out front and on the ramp coming down. This will in all likelihood be the last mission where you’re going to need health patches and ammo, so don’t be shy using both. When you think it’s safe, go and check the Transporter; if it’s not powered, that means there’s at least one Cyborg left alive. In my case, he was on the lower level to the north of the Transporter. When the Transporter is powered, hop on and ride it to the top; you’re now ready to take on the last Cortex Reaver.
Thanks for reading! Your support means a lot, and I truly appreciate each and every one of you for taking the time to follow this guide. May your adventures be thrilling and filled with victories. God bless, and I look forward to connecting with you in the next post!
